The following page reviews important steps to managing Zoom cloud recordings. (Please note that this page is in draft form and viewership is restricted.)
Enabling Zoom Cloud Recordings
Zoom offers the ability to record meetings in the cloud. By default, cloud recordings are disabled. Follow the steps below to enable cloud recordings as well as to locate and download your existing Zoom cloud recordings.
Enabling Zoom Cloud RecordingsTo enable cloud recording for individual meetings, be sure to check ‘Automatically record meeting’ and ‘In the cloud’ in the Advanced Options when setting up your meeting(s).
To enable cloud recordings on an account level as the default behavior for future meetings, you’ll want to enable automatic cloud recordings. To do so, sign into the Zoom web portal, navigate to the ‘Settings’ tab and locate ‘Recording’. Next, locate ‘Automatic recording’ and click on the button on the right to enable it. Be sure to select ‘Record in the cloud’. Additional details and instructions are available on the Zoom Cloud Recording page.
|
")
")
Managing Zoom Cloud Recordings
Accessing Existing Cloud Recordings
|
")
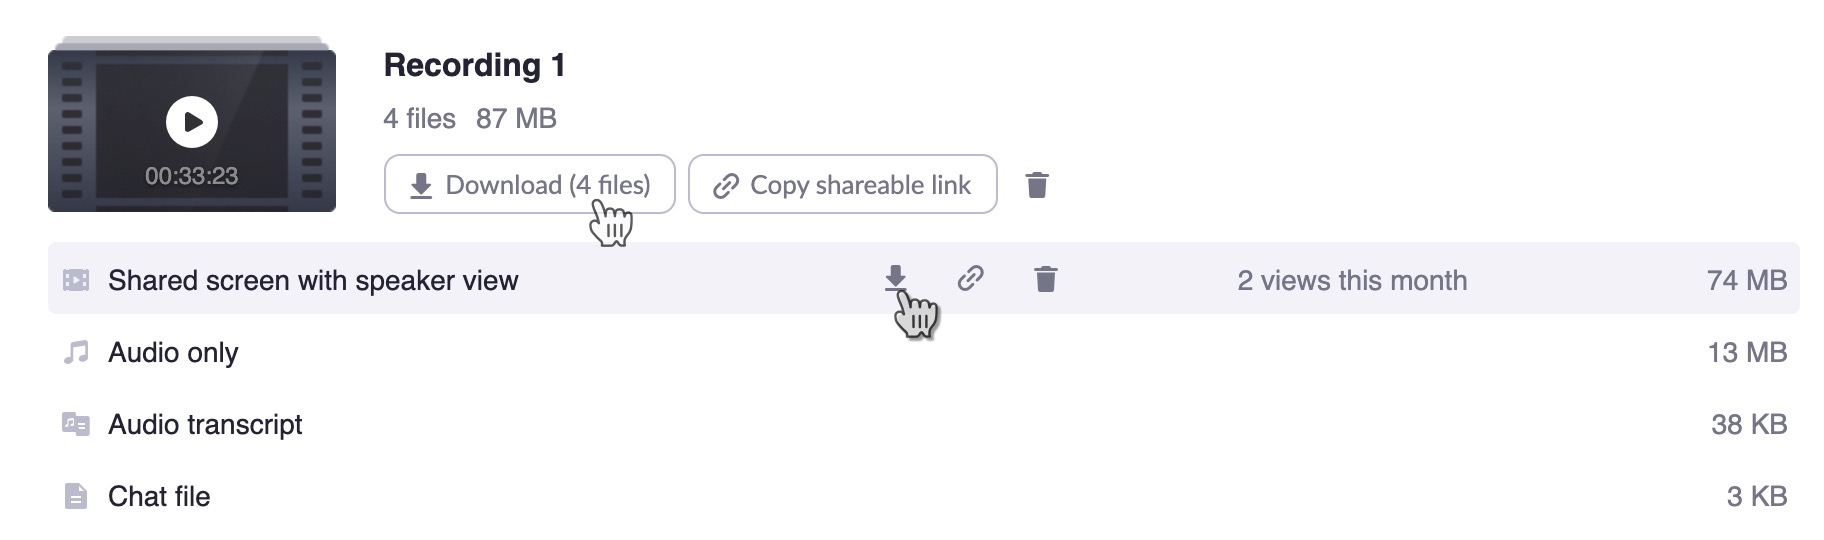
Downloading Zoom Cloud Recordings
File types
|
Recovering Zoom Recordings From the Trash Folder
Zoom allows you to recover a recording within 30 days of deletion. Instructions
|


Getting Help
For support on the information above, contact the ITS Help Desk by calling at 315.443.2677 or by emailing help@syr.edu.